Raytracing Graphics Renderer
| Status | Complete |
| Development Period | September 2015 |
| Target Platform | Web |
| Development Language | Typescript |
This was a project for my Computer Graphics class. We were given a program which could render an animation using raytracing and we needed to modify the program so that it included anti-aliasing and motion blur.
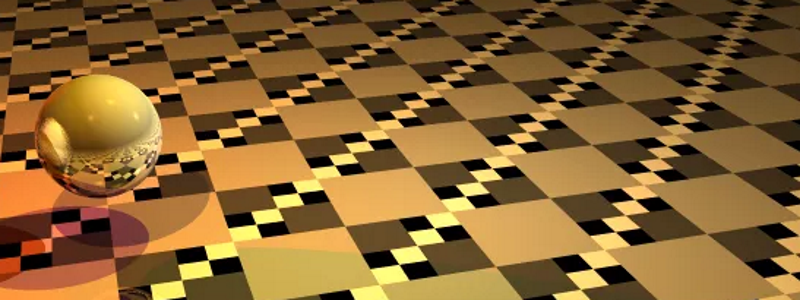
I thought raytracing was interesting. It essentailly emulates what’s happens in real life by simulating how rays of light interact with the environment. It’s pretty intuitive and due to the way it’s designed, more complicated graphics phenomenon such as shadows, reflections and motion blur can be easily implemented. This makes the final image look really pretty which is why companies like Pixar use raytracing to render the graphics in their films.
The problem with raytracing is that it’s really slow. Animation companies require insane amonts of computing power to render their movies and even then it takes several minutes to render each frame. There are two reasons why it’s so slow. 1. There’s a lot of information to process. When each ray hit’s an object it casts more rays to check for reflections and other light sources. This results in several layers of recursion and creates a combinatorial explosion. 2. Due to the nature of the algorithm it can’t be computed in parrallell. This means that it has to rely on the CPU rather than the graphics card.
The other method used for graphics is called rasteriztion. It involves using a series of triangles which are colored, positioned, and oriented in such a way that it looks like a real object. It’s really fast becuase each of the verties of the triangles can be processed in parallel on the graphics card and then the triangles are quickly drawn using a rasteriztion algorithm. This techiniques allows for video games to have both good looking graphics and high frame rates. The draw back is that it’s really difficult to simulate more complicated phenomenon. It has taken many years of research to get rasterzation techniques to generate the images that are possible today.
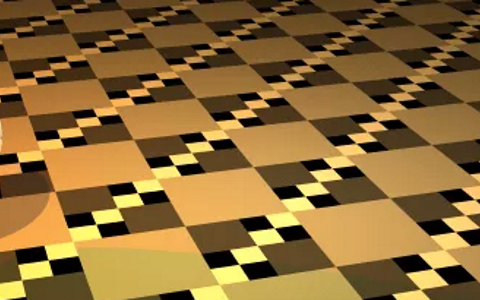
Allow me to explain how we were required to modify the raytracing algorithm for this project. By default 1 ray is sent out for each pixel and it will determine the color of that pixel based on which objects in hits and how the lighting effects that point on the object. The problem with this is that the edges of objects end up being really jagged since each ray either hits or misses objects and at lower resolutions the edges of objects turn out looking pixelated. To fix this issue we used super sampling. Each pixel sends out several rays and then the results from those rays are averages to get the final color. This results in much smoother edges.
This other issue was motion blur. Here there are still multiple rays sent out for each pixel only the rays are cast out at different times. If the object is moving fast and it’s only overlapping with a particular pixel for a fraction of a frame then many of the rays will miss the object which results in a blurring effect.
Anyway I thought this process was pretty cool so I figured I’d share it.
Recent Comments